The Canon EOS 4000D is the entry point camera for canons DSLR camera range, and they have made it as cheap and as small and as light as they possibly can. That does mean that they have cut a few corners, but they are largely cosmetic, and aren’t really that important. The main workings of the camera are very good and they produce really good video and stills.
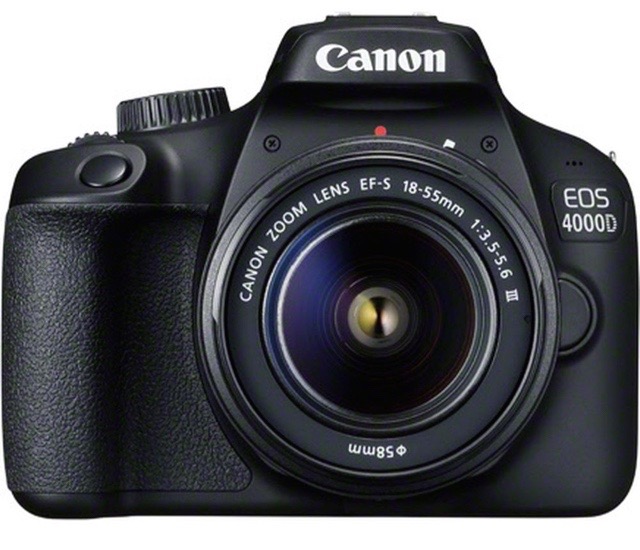 The Canon EOS 4000D produces an 18 megapixel image.18 megapixels is a reasonable size, slightly smaller than the next camera up from this, which is the 2000D and produces a 24 megapixel file.
This means the Rebel T100 can produce a 50 megabyte file, which is big enough for pretty much any type of usage. You can use that certainly on websites on your social media, and you can certainly print them in magazines and newspapers.
The sensor, which produces the 18 megapixel file, also produces really good video. It produces Full HD, which is 1080p, and it will produce standard HD, which is 720p. In both cases, the video is very smooth and the color reproduction is very good.
The is a crop frame or APS-C camera. This does have some affect on the images it produces, but it really doesn’t make much difference. And with the file sizes that you have these days, it makes even less difference. There is one advantage that we have with Canon crop frame cameras, which is that you can use the crop frame lenses and full frame lenses on this camera.
The brain of the Rebel T100 is the DIGIC4+ processor. It’s not the most recent processor, but it is a really good reliable workhorse. And it can produce very clean and very crisp images with excellent color reproduction. And it also does a very good video too.
The camera has two autofocus systems, one that runs through the viewfinder, and one that runs through the LCD screen at the back. The one for the viewfinder is very quick and very accurate. And the one that runs through the LCD screen is a bit slower, but also is quite accurate. Both autofocus systems operate with a nine point autofocus system, which means that it has nine autofocus points across the screen in a diamond shape. Now this is useful if you want to decide which part of the image you want to be sharp because you can move the autofocus point from the middle to one of the edge focus points and decide that that point is going to be sharp in the picture. Or if you’re going to be shooting something that moves around in the picture and moves from focus point to focus point, because it allows the camera to keep that subject in focus. The LCD screen on the back is not terribly large – the camera is quite small – and it’s not terribly high resolution. So whilst you can certainly use it to check your composition, and check your color range, I wouldn’t really recommend that you edit your pictures on this back screen.
The ISO range on the Canon 4000D goes from 100 up to 6400 and then can be extended to 12,800. Now that’s a pretty good range. There is some degradation as you go up through the ISOs. But I would say that you don’t really notice that until about 3200 and the quality up to that point is really very good.
As mentioned,this camera will shoot three frames per second. And in terms of shutter speed, it will go from one 4,000th of a second write down to 30 seconds. That really covers more or less the whole range. Beyond the 30 second range, it will allow you to shoot bulb.
Despite the the Canon 4000D being the cheapest DSLR camera available from Canon, it has an impressive array of features and functions, not least the presets on the mode dial. It has eight presets, ranging from portrait, shooting landscapes sport close up, and also even a food option. It also has the semi automatic mode, which is standard, which are P, Shutter priority and Aperture priority. And then for manual mode. So basically, if you buy this camera, not knowing anything about DSLR photography, you can begin by taking decent pictures with the presets, and as your experience and knowledge grows, you can then move on to the semi automatic modes. And then finally shoot full manual.
Inside the camera, there are a series of very good features and creative filters, which allow you to change some of the styles of the picture that you take. And also to resize your image. And that connected with the Wi Fi compatibility of this camera means that you can take a picture, you can put a filter on it, you can then resize it to make it smaller, and then use the Wi Fi option to send it to your mobile phone and upload direct onto a social media platform. So it’s very handy for that.
Pros and cons of the Canon EOS 4000D
Let’s take a look at the bad points first. First this camera is almost entirely plastic apart from the electronics. And this means that obviously it’s lighter, and it’s cheaper, which could be seen as a good point. But also it suggests that this camera may not be quite as robust as other cameras that can produce. But provided you don’t swing it around your head and bounce it off the floor, this camera will be fine for everyday use. I’ve had my EOS 4000D for a year, I’ve taken it on two or three holidays. I’ve used it regularly on a day to day basis, and it’s in perfect condition.
Secondly, there is no remote shutter cable socket on the side. A shutter release cable is very useful if you’re going to be shooting long shutter speed photography. So if you’re going to be doing nighttime photography, or if you’re going to be doing Astro photography, when your shutter speed might be a minute, two minutes, 10 minutes, all of this is possible. The camera as I’ve mentioned before, will give you automatic shutter speeds of one 4,000th of a second down to 30 seconds. But beyond that when you’re shooting bulb, you don’t have the same amount of control if you can’t use it with a remote shutter cable.
Thirdly, and perhaps the thing that you may have heard or read about this camera already because it did cause something of a brouhaha when the camera came out. This camera is designed to work with canon EX flash guns and not third party flash guns.
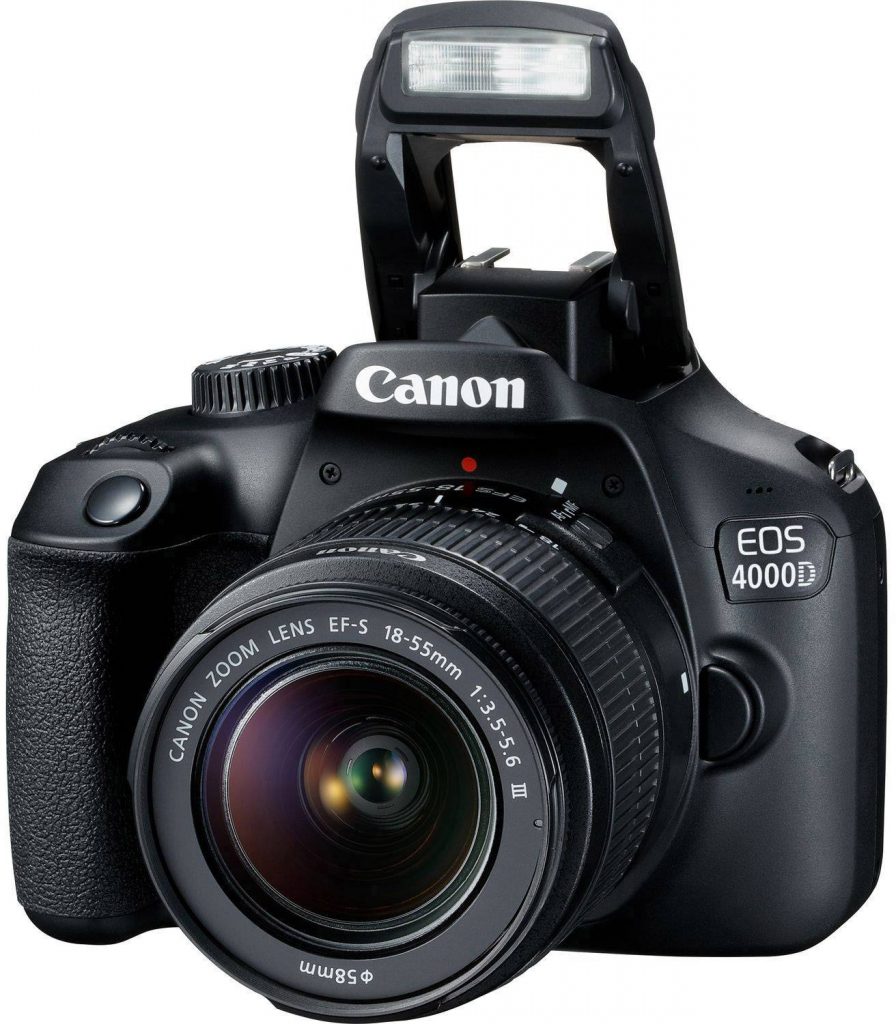 Also, there’s no on off switch, it turns on via the mode dial. That’s not a huge issue, I don’t think and once you’re used to that it’s fairly straightforward. The other thing is that the the pop up flash doesn’t automatically pop up when you’re in one of the preset modes. However, it’s a fairly simple operation to put the flash up and back down again. So I don’t think that’s a big issue either.
What are the good points about this camera?
The most obvious one is its price. This is a remarkably competitively priced camera. It’s a full Canon camera, which means that all the accessories you buy for this camera are transferable to other DSLR camera bodies as you might choose to upgrade and increase your skills. It has a superb sensor which will give you fantastically clear Sharp, good color reproduction images of a very good size from website, social media right up to print publication quality, the processor is also very good, and will process your images very well with good color reproduction, and also process your videos, which it will also shoot to professional quality standard. So everything you need from a camera is in the Canon EOS 4000D or Rebel T100. And I would argue also, that by cutting some of the corners and removing some of the extraneous features which you get with some of the higher range DSLR Canon cameras, it’s doing your favor.
For information about our Superb Canon EOS 4000D manual, click here.
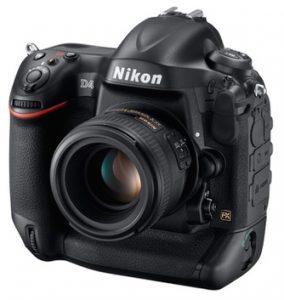
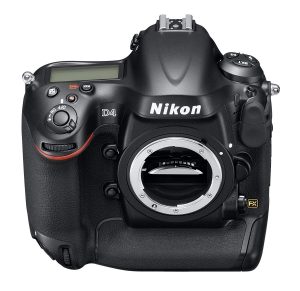 The improved sensor on the Nikon D4 gives the better metering and Subject Tracking and extends face detection for the optical viewfinder. Extending the ISO range from 50 -204,800 is impressive, but surely would only appeal to specific niche – perhaps ill-lit night time sports or nature photography. The Kevlar/carbon fiber-composite shutter unit boasts a standard life cycle rating of 400,000 releases. There are some ergonomic improvements, making the camera easier to handle and the buttons easier to manage. The Nikon Wi-Fi transmitter allows you to see the Live View on an iPad, which can also control shooting mode and trigger the shutter, which might also be useful for the nature photographer.