The Nikon Coolpix L26 is an excellent camera for beginners. It is a described as a no frills camera- and is one of the cheapest around, but has a surprising array of features and still retains the quality you would expect from Nikon. The 5x lens is the usual high Nikon standard and it produces a 16 mega-pixel file. It has an easy to use auto mode (with 18 simple options) and has a larger than average LCD screen. Portraits are easy with the Smart Portrait System, which has blink warning and skin toning.
It slips into video recording at the touch of a button and can shoot remarkably crisp 720p video.
The L26 takes AA batteries and is available in silver, red and black.
The Coolpix L26 is ideal for someone who just wants a basic point and shoot, a youngster showing an interest in photography, or to take to places you wouldn’t want to take an expensive camera. Although it seems basic, it is capable of taking some great shots.
Nikon Coolpix L26 Features
16 MP File Size:This is really impressive. You can blow pics up to poster size
Easy Auto mode: This optimizes all the settings to ensure good photos
5x optical zoom lens (26–130mm): Not the biggest range, but a great quality lens
720p video recording: One touch recording and really good quality video
e-VR (vibration reduction): Similar to the system on other nikon compacts
7.5 cm (3.0-in.) LCD screen: Larger than other cameras in this bracket
ISO up to 1600 and Motion detection: All these contribute to your picture quality
Best shot selector: Selects your sharpest shot for you
18 scene modes: All the popular styles catered for here
Wireless transfer: Transmit your pictures directly to your phone or computer

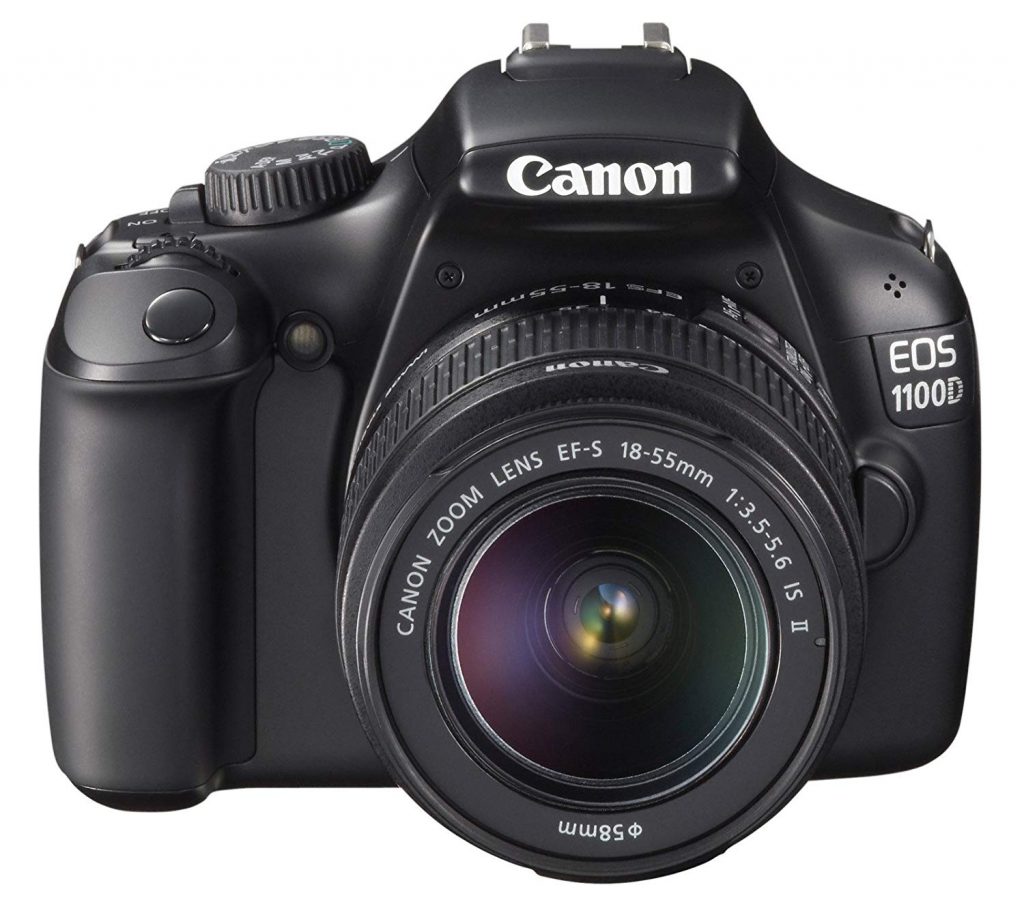 The Canon EOS 1100D is Canon’s budget model. It gets all the important stuff right, such as metering and focus and the beginner should be perfectly happy with the range and quality of this camera. Many of the camera components and systems have been inherited from other previous Canon models further up the range. Whilst it may not offer anything out of the ordinary, the EOS 1100D does a very competent job at taking good pictures with minimum amount of fuss. The beginner-friendly settings allow this and the advanced settings allow the novice to experiment and gain experience. This is an ideal camera for someone who wants to learn the craft of photography.
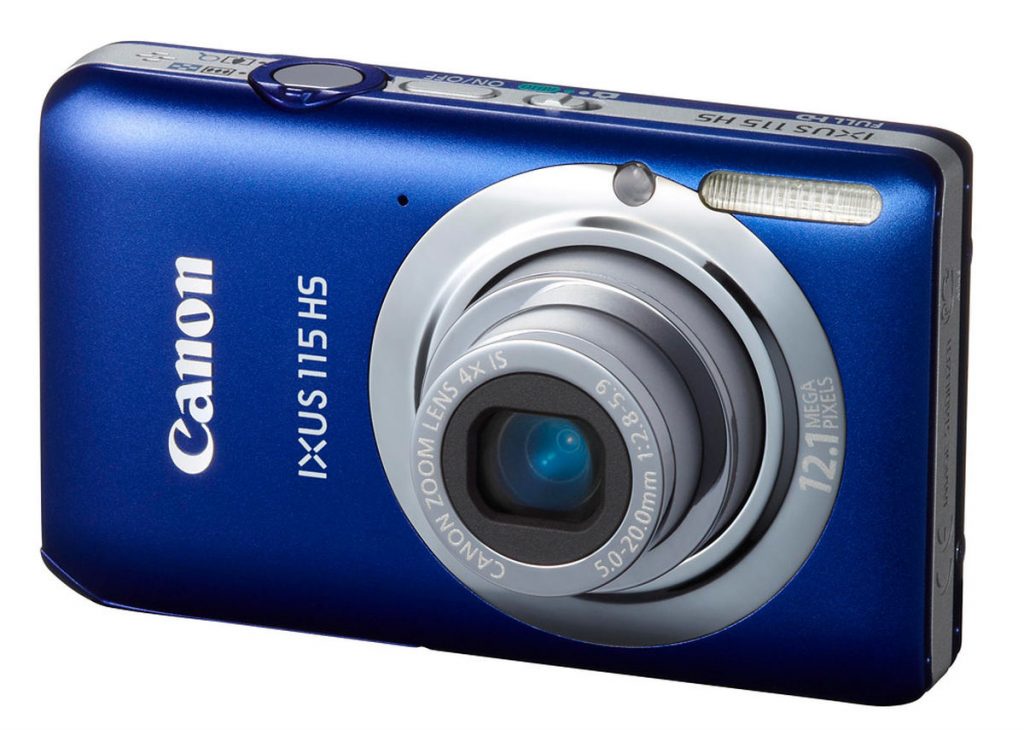 This is one of Canon’s ‘don’t make me think’ range of cameras and, if you want a pretty camera to point and shoot, or record your memorable moments, then this will do the job very well. The 12 Mega-pixel file size gives you good detail and will blow up enough for most requirements. The lens zooms 4x from about 28mm to 112mm, which is perfect for group shots, party pictures or portraits. Canon’s Image Stabilizer system endeavours to counter any camera shake. The Smart Auto function detects 32 different scenes, allowing you to leave all the decisions to the camera and Movie Digest records 4 seconds of video before taking the still, joining all the clips together to produce a mini-film of the days events for you. The Ixus 115 has a fast 8~Frames per second burst rate – though I can’t think what it would be used for. It also has a selection of effects, such as Fish-eye, miniature and toy camera to keep your pictures fresh and creative.