In this blog post, I will quickly go through the best types of Canon lenses for the most popular types of photography and suggest some great lenses for each. As we know, every lens is a compromise to a greater or lesser degree. The most generalist lenses – kit lenses for example may be OK at most styles, but they won’t excel at any of them. Because cost has been an important factor, the image quality will not compete with specialist lenses – or the Canon L lenses – and because they are zooms and cover a wide focal range, the variable apertures will not allow for very shallow depths of field. Let’s take a look at some good Canon Lenses for landscape photography first.
Landscape Lenses
Landscape photography is not just about getting a perfect image of a scene and making sure that it is sharp and well exposed. Successful landscape photography evokes a sense of time, place and includes an element human interaction – even if the interaction is the effect it has on the viewer. In a way, it is a chance for the photographer to pay homage to the world around us – natural or man made. Given so much width and depth available in the frame, the landscape photographer needs to understand how to take advantage of perspective, composition, relative distance, and the interaction between the manufactured and natural world.
Often a landscape photographer will have studied the scene for some time before taking the picture – noting the angles, how the light falls at certain times of day, and how the scene is affected by different weather conditions. It could take many attempts to get that perfect shot. Landscape photography is about getting as wide an angle of view as possible – to get as much of the image into the frame as you can. You also want to have a wide depth of field to get most of the frame sharp. It doesn’t matter if you want to shoot expansive scenery or cityscapes and architecture, you are going to be looking for high quality, wide angle lenses. So, if you are looking for the best types of canon lenses to photograph almost anything in the wide world of landscapes, I would suggest one of the following:

The Canon EF-S 10-18mm f/4.5-5.6 IS STM lens. This EF-S lens gives you a wide 16mm effective focal length, allowing you to shoot imposing architecture and expansive landscapes. It is a high quality, light weight and cheap lens. A great starter for a landscape photographer.

The second suggestion would be a Canon EF-S STM 24 mm f/2.8 lens. This is a fixed lens for crop cameras, offering an effective 36mm focal length. It is very sharp and a great lens to have in your bag. It does produce some barrel distortion, but that can be corrected in edit. Again, small, light and cheap.

For something cheaper, take a look at the Rokinon FE14M-C 14mm F2.8 lens. This is a manual focus lens, so you would have to be comfortable with that, but has great sharpness at f8 and very little chromatic aberration
 Our Superb Canon Lens Course is designed for DSLR owners who are thinking of buying a new or used lens for their Canon camera. There are so many lenses available for Canon DSLR cameras, that it can be quite confusing, even professional photographers. This course tells you all you need to know about lenses for Canon DSLRs – both Canon lenses and third party lenses – so that you will be able to buy your next lens with confidence. Packed with information about the best lenses you can buy for each type of photography, and showing some amazing pictures from each mentioned lens, check out this Canon Lens Course now!
Sports Lenses
Sport and action photography is about speed and accuracy. Every split-second counts, and you only ever get one chance to capture the shot. I would say that Action photography is one area of picture taking where practice is key. Like preparing for the sport itself, this could involve practicing single elements – zooming, panning, and using your autofocus, so that it comes naturally to you when you are in the field. For the very best results it’s important to have the right combination of camera and zoom lens. So let’s start with probably the first choice single lens for nearly every sports photographer:
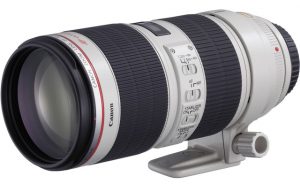
The Canon EF 70-200mm f/2.8L IS II USM lens. Whilst every lens is a compromise, this lens excels in all the areas that are important for a sports photographer. The images are tack sharp, the auto focus is extremely quick, and it is great in low light. The downsides are that it is very heavy – you would need a monopod, probably. This is an EF lens for Full frame cameras. It will work very well with crop frame cameras, but the autofocus will be slower.
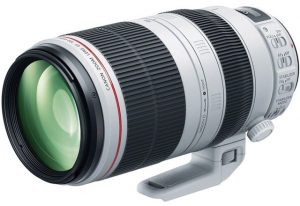 For a longer focal length, try the Canon EF 100-400mm f/4.5-5.6L IS II USM. This is an excellent lens for daytime action, though not really for low light. The image quality of this lens is considered to be outstanding and the build quality superb. The focal range of 100-400mm (160-640mm on an APS-C camera) gives you more options than say the 70-200mm especially for wildlife and sporting events.
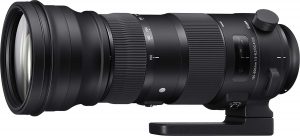
And for a great lens with extra bragging rights, take a look at the Sigma 150-600mm f/5-6.3 DG OS HSM Sports lens. This is a beast, weighing 3 kilos and is 10 inches long, but it has very fast autofocus, superb optical stabilisation and produces very sharp images.
Of course, some of the sports lenses would also be good for wildlife photography, but wildlife photography is all about getting your subject up close whilst keeping your distance. Usually you are shooting in reasonable light and so can exchange a little speed for extra reach.
Travel Lenses
Picking a lens to travel with is a bit different to picking a lens for other situations. Not only will you be concerned with image quality, but also size, weight and versatility. After all, you will be carrying it around with you when you are travelling and, ideally, you want to keep the number of lenses in your bag down to a minimum. So for travel photography, it’s better to try and focus on getting a smaller number of lenses that work well in a wide variety of situations. I would suggest that you choose two lenses – a walk-around lens and a fast prime. If you have decided that you only want to take one lens, then you will want a good walk-around lens – one that will satisfy your travel photography needs. The usual walk-around focal lengths are considered to be between 28 – 50mm. These lengths should be good for street scenes, travel portraits, architecture and landscape shots.
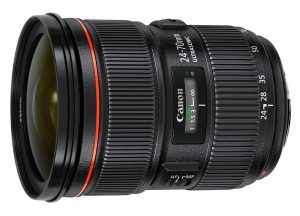
The first one to look at is the Canon EF 24-70mm f/2.8L II USM lens. This lens is one of the best types of Canon lenses around and it will allow you to shoot panoramic landscapes, more intimate city images, contextual portraits, low light images and details – in fact most of the things you might want to shoot when travelling.It is a superb fast lens – and it is weather sealed, which is something you might want to consider if you are going of the beaten track.
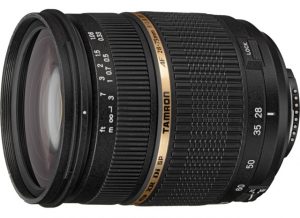
If you are going to by travelling in and around cities, you might want to think about a wide angle lens, perhaps the Tamron AF 28-75mm f/2.8 SP XR Di LD lens. It is not too heavy, and offers clean sharp images, being perfect for architectural and landscape pictures. It is also very good in low light.
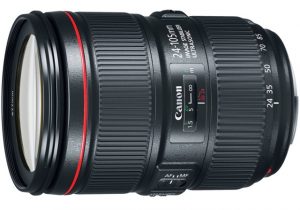
If you want to have a little more reach, take a look at the Canon EF 24-105mm f/4L IS USM lens. It is a favourite with photographers who want to travel light. It offers really good image quality with advanced image stabilisation – which you may well need if you are shooting mostly hand held. It is a superb portrait lens and very good for landscapes. The near-silent focusing is useful if you are shooting in enclosed spaces.
When it comes to that prime, I don’t think you can go wrong with the Canon EF 50mm f/1.8 STM lens or Canon EF 35mm f/2 IS USM lens. Both are excellent lenses and give you a good prime focal length for travel photography. They are also both the perfect size to fit in a pocket
Portrait Lenses
As a portrait photographer you may have to shoot various kinds of pictures, from group shots of families to professional style headshots. The challenge for portrait photographers is to tease out the inner essence of the subject. This might sound grandiose and pretentious, but a picture of someone that doesn’t reflect character or personality is really just a two dimensional representation – a passport photo.
If you are looking for a lens that provides a reasonable working distance from the individual subject, with a narrower field of view than a 50mm lens, the 85mm is the most popular focal length for portraiture.
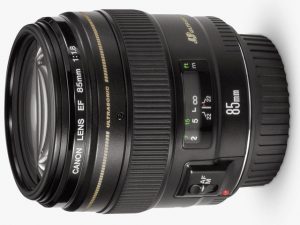
I think the Canon EF 85mm f/1.8 USM lens is a really good place to start. It is an excellent portrait lens, the f1.8 is ideal for shallow depth of field work that lets the portrait really pack a punch. It is very sharp and with fast autofocus.
Both Sigma and Tamron produce very good 85mm lenses, but to be honest, nothing can compete with the Canon for quality and price. Even the Canon L lens – the Canon EF 85mm f/1.4L , is not regarded as highly by photographers as this f1.8.
Whilst the Canon 85mm can be used on a crop frame camera to good effect, APS-C owners have a real advantage here because the Canon EF 50mm f/1.4 USM is a great portrait lens when you account for the crop factor. Ideally, having a longer lens gives you a slight advantage when shooting portraits because the subject looks more natural. The effect is hardly noticeable with a 135mm lens and so it is the jewel in any portrait photographer’s kit bag – particularly an f1.8 like this.
So that was a quick overview of the best types of Canon lenses for particular kinds of photography. As I mentioned, There are other great lenses available, but if you want to get a good lens to start with, none of these lenses will let you down.
For more information about Canon Lenses, and a superb course, click here

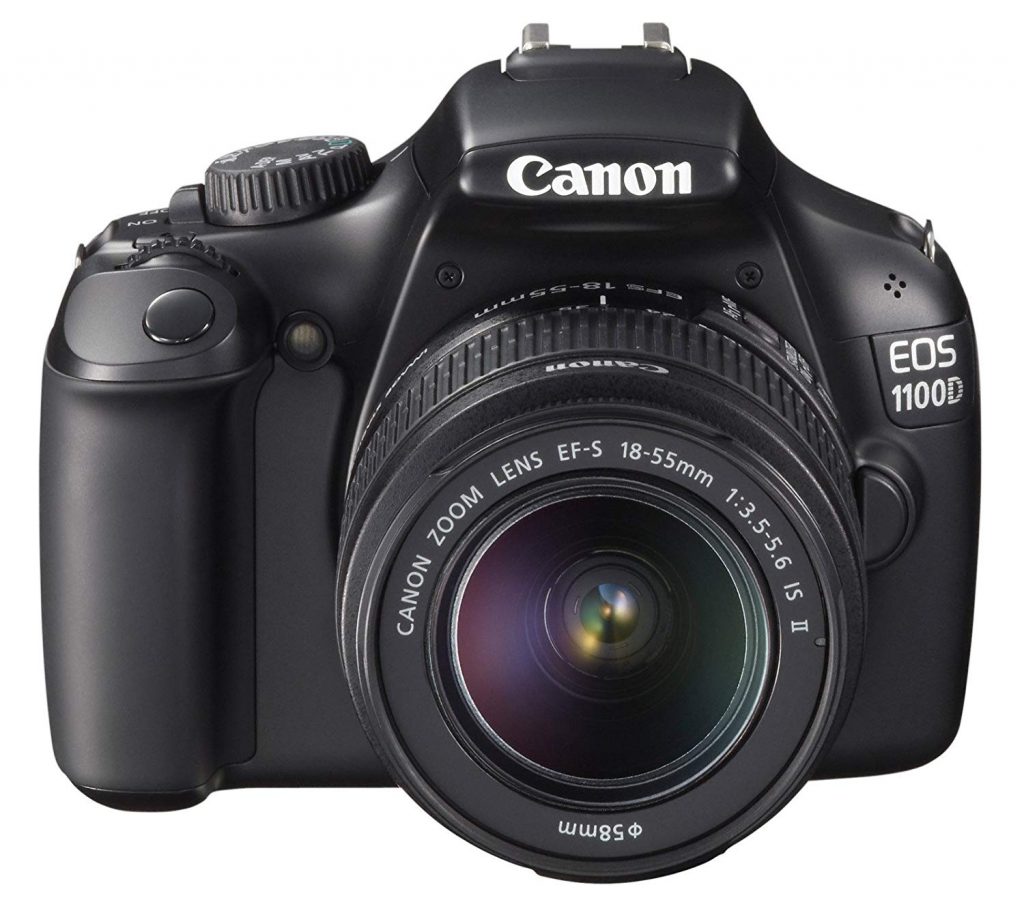 The Canon EOS 1100D is Canon’s budget model. It gets all the important stuff right, such as metering and focus and the beginner should be perfectly happy with the range and quality of this camera. Many of the camera components and systems have been inherited from other previous Canon models further up the range. Whilst it may not offer anything out of the ordinary, the EOS 1100D does a very competent job at taking good pictures with minimum amount of fuss. The beginner-friendly settings allow this and the advanced settings allow the novice to experiment and gain experience. This is an ideal camera for someone who wants to learn the craft of photography.
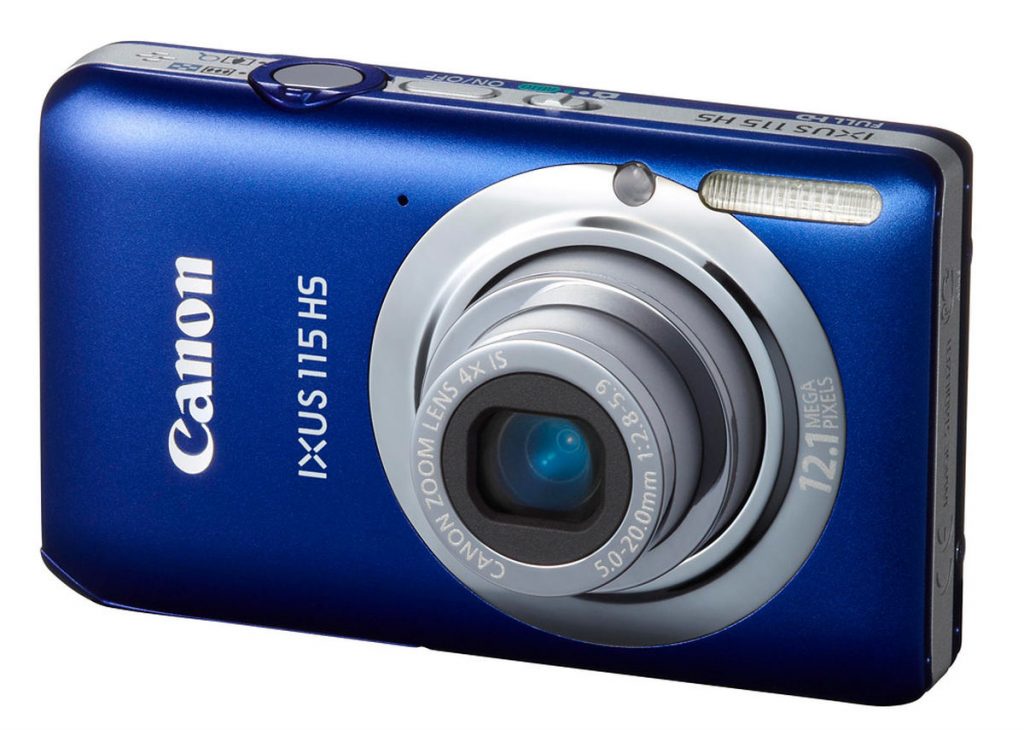 This is one of Canon’s ‘don’t make me think’ range of cameras and, if you want a pretty camera to point and shoot, or record your memorable moments, then this will do the job very well. The 12 Mega-pixel file size gives you good detail and will blow up enough for most requirements. The lens zooms 4x from about 28mm to 112mm, which is perfect for group shots, party pictures or portraits. Canon’s Image Stabilizer system endeavours to counter any camera shake. The Smart Auto function detects 32 different scenes, allowing you to leave all the decisions to the camera and Movie Digest records 4 seconds of video before taking the still, joining all the clips together to produce a mini-film of the days events for you. The Ixus 115 has a fast 8~Frames per second burst rate – though I can’t think what it would be used for. It also has a selection of effects, such as Fish-eye, miniature and toy camera to keep your pictures fresh and creative.